
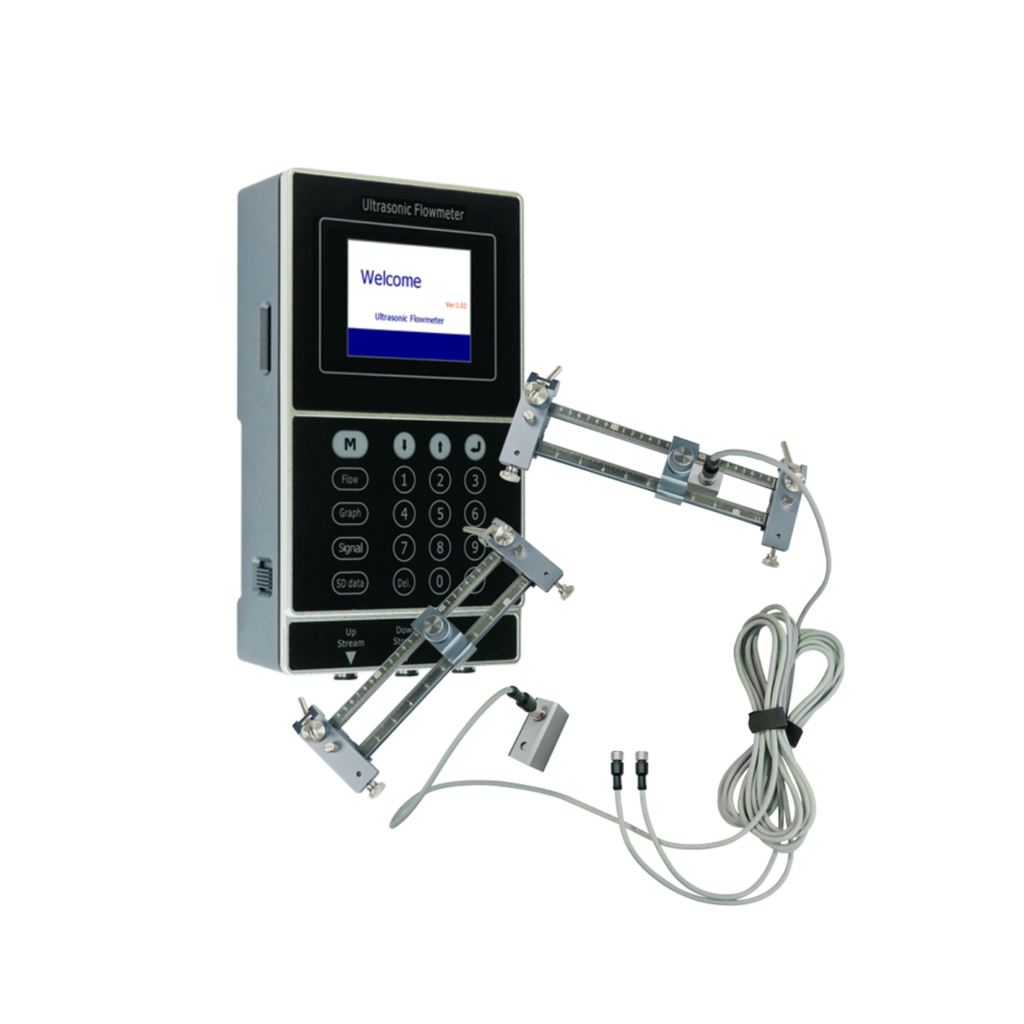
“I mounted the transducers but I get no signal” … “the flow reading jumps around” … “it reads zero with the pump running.” These are the three most common support calls for clamp-on ultrasonic meters — and the good news is that almost every case is a setup or application issue, not a faulty meter. Clamp-on accuracy and reliability depend entirely on getting a clean ultrasonic path through the pipe wall; when that path is interrupted, the meter tells you via low signal quality (SQ). New to the instrument? See our clamp-on flow meter overview and how it works. This guide walks you through diagnosing it, in order of how often each cause occurs.
Step 1: Check Signal Quality (SQ)
Start here. The meter displays live signal strength/quality. A healthy install shows a stable SQ of roughly 50–60 or higher with little fluctuation. If SQ is low, zero, or jumping, the problem is acoustic coupling or the pipe/fluid path — work through the steps below. If SQ is strong but the reading is still wrong, jump to Step 7 (pipe data) and Step 8 (flow profile). SQ is your single most useful diagnostic; do not troubleshoot blind.
Step 2: Couplant and Surface Contact
The #1 cause of no/low signal is the acoustic coupling between transducer and pipe:
- Not enough (or dried-out) couplant — apply a continuous, generous bead of acoustic coupling grease with no air gaps; on hot lines use high-temperature couplant (standard grease dries and fails above its rating — see liquid/temperature notes).
- Dirty, painted, rusty or scaled surface — clean and lightly abrade the two mounting patches down to sound metal; remove loose paint and rust (dense intact paint can usually stay, but bare clean surface is safest).
- Transducers not seated flat / straps loose — the faces must sit flush and firm against the pipe; re-tighten straps or the clamping frame so there is no rocking or gap.
Step 3: Transducer Spacing and Mounting Method
- Mount the transducers at the exact spacing the meter displays for your pipe — not an estimated gap. Wrong spacing is a top cause of weak/no signal.
- Use the right method: V-method (reflected path, transducers on the same side) for most small/standard pipes; Z-method (transducers on opposite sides, direct diagonal path) for large, thick-walled, cast-iron or lined pipes where V-method cannot punch through. Switching V→Z often rescues a “no signal” point. Mounting rules are in the installation guide.
- Make sure the transducers are on the pipe centreline (aligned axially), not offset around the circumference.
Step 4: Is the Pipe Full? Is There Air?
Transit-time ultrasound needs a completely full pipe of continuous liquid. A partially filled line, or a pocket of entrained air/gas at the top of the pipe, blocks or scatters the pulse — the meter may read zero or fluctuate wildly even with the pump running.
- Mount on a section that runs full (avoid the top of a sagging pipe or a high point where air collects); a vertical rising leg or the lower half of a horizontal run is best.
- Bleed/vents nearby should be clear; aerated water (e.g. just downstream of a pump suction leak or a free discharge) needs time to de-aerate — move the point further downstream.
- Heavy, continuous aeration or high solids may simply be beyond transit-time — that points to Doppler (transit-time vs Doppler).
Step 5: Pipe Material, Lining and Wall Condition
- Select the correct pipe material in setup (steel vs stainless vs PVC vs HDPE vs cast iron) — material sets the sound speed; see pipe materials.
- For lined pipe, enter the lining material and thickness; a delaminated liner (air gap between cement/rubber liner and steel wall) blocks signal almost completely and may require a different mounting location.
- Old cast iron with internal tuberculation/graphitisation scatters signal — try Z-method, a premium high-power unit (YF-C8), or a cleaner section of pipe.
- Concrete or thick-walled composite mains may need long-range transducers; survey with a portable first.
Step 6: Location, Straight Run and Flow Profile
If signal is strong but readings are unstable or inconsistent, the flow profile at the mount point is likely disturbed:
- Move to a straight run with ≥10–15 pipe diameters upstream and ~5D downstream of elbows, tees, valves, pumps and reducers.
- Avoid mounting immediately downstream of a throttling valve or a partially open gate valve (turbulence and cavitation).
- Confirm the flow is actually within the meter’s velocity range and above the low-flow cutoff.
Step 7: Pipe Data Accuracy
Strong signal but consistently wrong flow values usually means incorrect pipe parameters: outer diameter and especially wall thickness must be measured (ultrasonic thickness gauge), not assumed from nominal DN. A small wall-thickness error biases the cross-sectional area and velocity calculation. Fluid type must also be correct (water vs oil vs glycol changes sound speed). These are the same levers as in the accuracy factors guide; diameter ranges are in pipe size coverage.
Step 8: Electronics, Cabling and Zero
- Check transducer cables are firmly connected, undamaged, and routed away from heavy electrical noise (VFD cables, motor starters); swap channels/cables to rule out a bad lead.
- Confirm adequate, stable power (fixed units) or a charged battery (portable).
- Run the zero-set / static calibration at a confirmed no-flow condition after mounting to cancel any baseline offset.
- If flow reads in the wrong direction, swap the upstream/downstream transducer assignment (or enable reverse-flow setting).
Troubleshooting Quick Reference
| Symptom | Most likely causes (check in order) |
|---|---|
| No signal / SQ = 0 | Couplant/surface → spacing/method → pipe not full/air → lining/material → cabling |
| Low / fluctuating SQ | Weak coupling → V-method on a hard pipe (try Z) → aeration → scaled/cast-iron wall |
| Reads zero with flow | Pipe not full / air pocket → transducers reversed → below low-flow cutoff → wrong fluid |
| Jumpy / unstable reading | Turbulence (short straight run) → entrained gas → poor coupling → electrical noise |
| Steady but wrong value | Wrong OD/wall thickness → wrong material/fluid sound speed → zero offset → profile distortion |
A Pro Tip
If a fixed point is hard to diagnose, bring up a portable meter (YF-P1/YF-P2) with fresh transducers and couplant and try a few locations on the same line — it isolates “this exact spot” from “this pipe” in minutes. Portable and fixed units use the same measurement core (portable vs fixed), so a strong stable portable reading at a better location tells you everything you need. Full setup menus and signal thresholds are in the manuals on the Downloads page; fixed install options include the YF-C6 and premium YF-C8.
Frequently Asked Questions
Why does my clamp-on meter show no signal at all?
No signal (SQ = 0) is almost always an acoustic-path problem, not a dead meter. Check, in order: adequate fresh couplant and a clean, bare, flat mounting surface; transducers tightly seated; the exact displayed transducer spacing; the correct mounting method (try Z-method on large/lined/cast-iron pipes); that the pipe is completely full with no air pocket; and that the transducer cables are connected. Lined pipe with a delaminated liner can block the signal outright.
Why is my clamp-on flow reading unstable or jumping?
A jumpy reading with decent signal usually means a disturbed flow or scattering: insufficient straight run (need ≥10–15D upstream of elbows/valves/pumps), entrained air or gas in the liquid, turbulence from a throttling valve, weak/intermittent coupling, or electrical noise on the cables. Move to a straighter, full section, improve couplant and seating, and route cables away from VFD/motor wiring.
It reads zero but the pump is running — what is wrong?
Most commonly the pipe is not full at the mounting point or there is an air pocket (mount on a vertical rising leg or lower half of a horizontal run), the transducers are fitted in the reversed upstream/downstream order, or the flow velocity is below the meter’s low-flow cutoff. Check fluid-type selection and confirm the pump is actually moving liquid through that line.
Still Can’t Get a Stable Reading?
YS-Flux clamp-on meters ship with full mounting guidance and our engineers support commissioning remotely or on site. If you are evaluating the technology, a portable YF-P1/YF-P2 is the fastest way to confirm a difficult point before a fixed install. Send us your pipe material, OD, wall thickness, lining, liquid and a photo of the install — we will help diagnose it within one business day. Request a Quote →
Browse our complete range on the Products page.